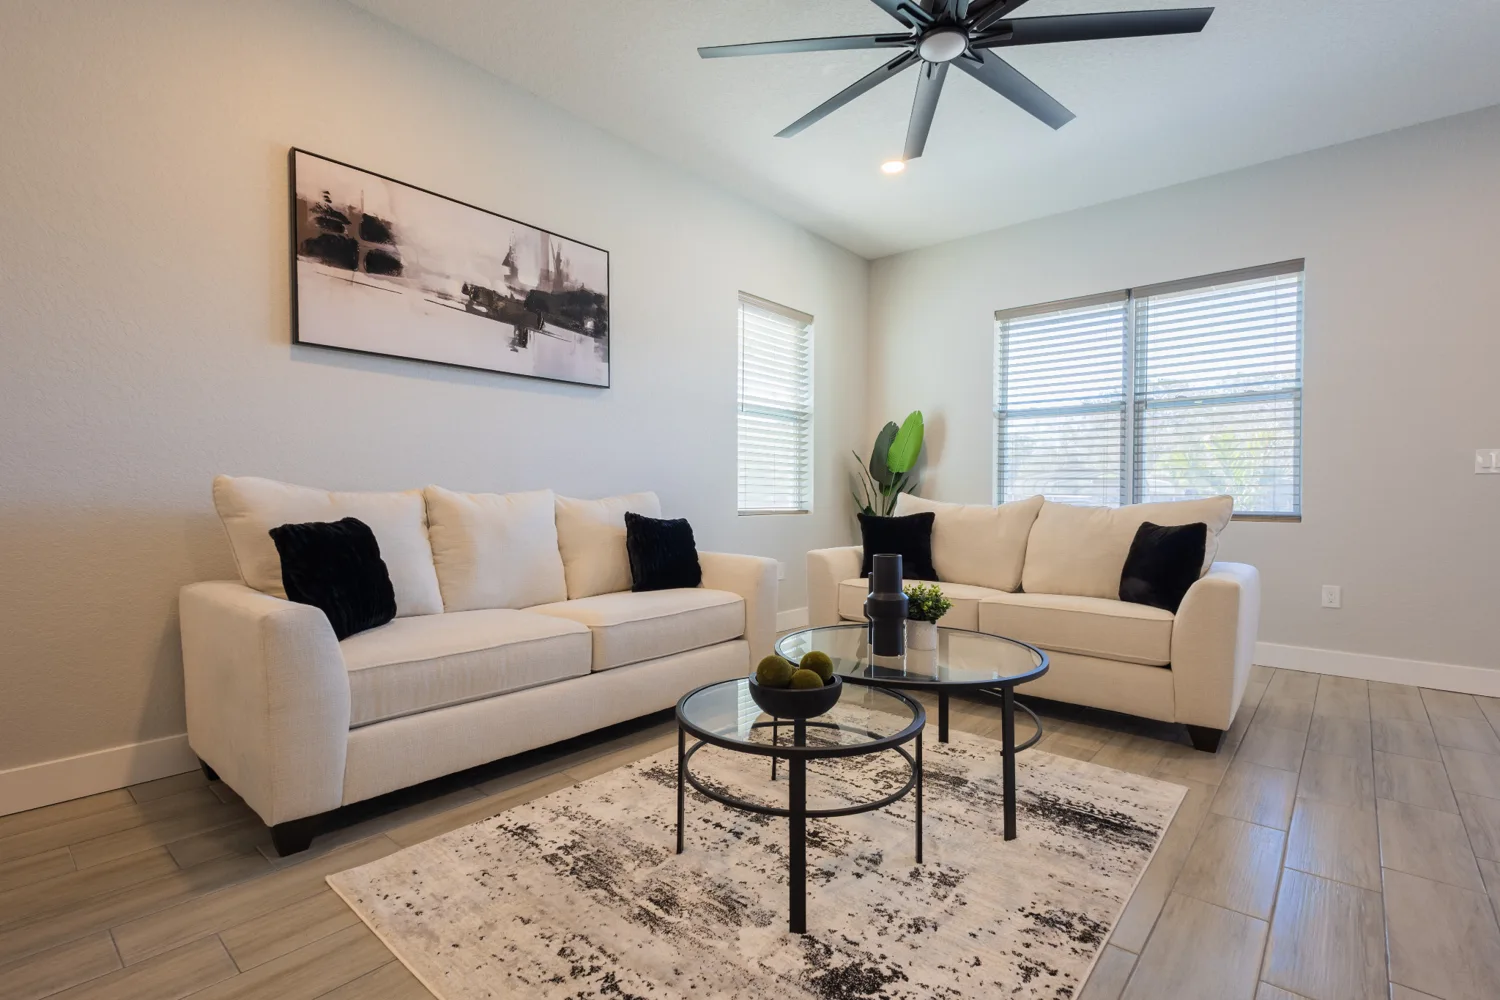
The best photo preparation is less about decorating and more about removing visual friction. A buyer should be able to understand the room, notice its useful features, and imagine how the property fits daily life.
That usually means making dozens of small decisions before the camera arrives. This checklist organizes those decisions by room so an agent, seller, or property manager can move through the home in a sensible order.
Start with the things that affect every room
Walk through the property as if you were seeing it online for the first time. Open blinds consistently, turn on working light fixtures, replace visibly mismatched bulbs, straighten rugs, and remove small objects that break up otherwise clean surfaces. Hide cords where that can be done safely.
Clean glass, mirrors, stainless steel, countertops, floors, and any glossy surface. Cameras record fingerprints, dust, and streaks more clearly than people tend to notice while standing in the room. Check ceiling fans and the tops of refrigerators too.
Entry and living spaces
- Remove shoes, bags, pet supplies, remote controls, and charging cables.
- Straighten sofa cushions and reduce decorative pillows if they hide the seating.
- Clear excess furniture from tight walking paths, without making the room feel vacant.
- Turn televisions off. A dark screen is usually quieter than a bright menu or paused show.
- Keep a few intentional objects—such as a lamp, plant, or simple books—rather than emptying every surface.
Home staging research helps explain why this matters. In the National Association of REALTORS® 2025 Profile of Home Staging, 83% of buyers’ agents said staging made it easier for buyers to visualize a property as a future home. That finding does not mean every listing needs rented furniture. It does support the basic goal of reducing distractions and making each room’s purpose clear.
Kitchen and dining area
Kitchens collect useful objects quickly. For photos, keep the objects that make the space understandable and remove the ones that make it feel crowded.
- Clear dishes, drying racks, soaps, paper towels, magnets, calendars, and trash cans.
- Leave one or two simple items on long counters so the room still feels lived in.
- Remove items from the top of cabinets and refrigerator.
- Align dining chairs and simplify the table centerpiece.
- Check that cabinet doors, appliance doors, and drawers are fully closed.
Avoid turning the kitchen into a prop set. A bowl of fruit can add scale and color; six different countertop appliances can hide the amount of workspace.
Bedrooms
Make the bed carefully, smooth the duvet, and check that the bed skirt does not bunch on one side. Clear nightstands except for one or two balanced items. Hide laundry hampers, tissue boxes, visible cables, and personal photographs.
In children’s rooms, a small number of neatly arranged toys can explain the space. Large piles, bright packaging, names on walls, and school information create clutter and privacy concerns.
Bathrooms
Bathrooms generally look better when they feel ready for a guest. Close toilet lids, remove toiletries, hang clean towels evenly, clean mirrors and shower glass, and check the corners of tubs and counters. Hide plungers, scales, wastebaskets, bath mats, and extra toilet paper.
If a shower curtain conceals an attractive tile surround, consider opening it neatly. If the shower is primarily functional storage, a clean closed curtain may be calmer. The goal is an honest, orderly view.
Exterior, pool, and garage
- Move vehicles away from the driveway and front elevation.
- Store hoses, bins, tools, pool-cleaning equipment, toys, and portable signs.
- Sweep patios and walkways; remove dead leaves from corners.
- Arrange outdoor chairs and open patio umbrellas if wind permits.
- Clean the pool surface and turn on water features that are part of the property.
- In the garage, create visible floor area and keep stored items consolidated along one side.
Do not hide a permanent condition or digitally plan to erase something a buyer would reasonably expect to see. Preparation should make the property legible, not create a different property.
The final 15-minute walk-through
Start at the street, then walk the same route a visitor would take. Look for open toilet lids, uneven blinds, burned-out bulbs, laundry, pet bowls, cleaning supplies, and small objects left on counters. Make sure keys and valuables are secure. If someone will be home during the appointment, decide where people and pets can wait without moving from room to room.
When time is limited, prioritize the front exterior, main living area, kitchen, primary bedroom, and primary bathroom. Those spaces usually do the most work in explaining the property. A calm, accurate set of rooms is more useful than a perfectly styled corner surrounded by unfinished spaces.